Weapons are an essential feature in Surviv.io that allow a Player to inflict damage on and kill another player. The game contains a wide variety of weapons, ranging from Pistols to LMGs which can be obtained nearly anywhere on the Map. Some weapons can only be obtained in certain Events, and others can only be obtained from specific Buildings or Crates. There are currently 112 weapons in the game (71 guns, 12 throwables, 34 melee weapons).
Weapon Classes
Currently, there are 11 types of weapons in-game.
- Throwables
- Melee Weapons
- Pistols
- SMGs
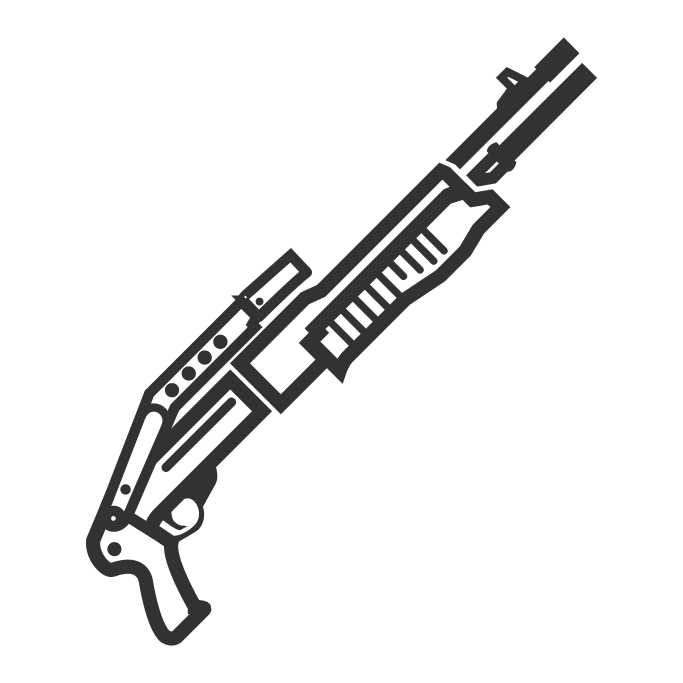
- Shotguns
- Assault Rifles
- Sniper Rifles
- LMGs
- DMRs
- Launchers
- Blasters
Ammunition
All weapons except for Throwables and Melee Weapons need Ammunition to be put to use. Here is the list of all twelve different types of Ammunition.
| Appearance | Name | Description |
|---|---|---|
 |
9mm | 9mm ammo is used for the: M9, P30L, MP5, Vector (9mm), G18C, MAC-10, UMP9, M93R, CZ-3A1, VSS, and Flame Thrower |
 |
12 gauge | 12 gauge ammo is used for the: M1100, M870, MP220, Saiga-12, SPAS-12, USAS-12, Super 90, Hawk 12G and Lasr Gun. |
 |
7.62mm |
7.62mm ammo is used for the: AK-47, OT-38, OTs-38, M39 EMR, DP-28, Mosin-Nagant, SCAR-H, BAR M1918, SV-98, Groza, Groza-S, AN-94, M1 Garand, PKP Pecheneg, SVD-63, BLR 81, PKM, M134, and Water Gun. |
  |
5.56mm | 5.56mm ammo is used for the: FAMAS, M416, M249, QBB-97, Mk 12 SPR, M4A1-S, Scout Elite, and L86A2. |
  |
.50 AE | .50 AE ammo is used for the: DEagle 50. |
  |
.308 Subsonic | .308 Subsonic ammo is used for the: AWM-S and Mk 20 SSR. |
  |
Flare | Flare ammo is used for the: Flare Gun. |
  |
.45 ACP | .45 ACP ammo is used for the: Model 94, Peacemaker, M1A1, M1911, Mk45G and Vector (.45 ACP). |
| 40mm | 40mm ammo is used for the: M79. | |
| Potato Ammo | Potato ammo is used for the: Potato Cannon and Spud Gun. | |
| Heart Ammo | Heart ammo is used for the: Heart Cannon. | |
| Rainbow Ammo | Rainbow ammo is used for the: Rainbow Blaster. | |
| N/A | 9mm Cursed (does not exist) | 9mm Cursed is used for the: M9 Cursed. |
| N/A | Bugle Ammo (does not exist) | Bugle Ammo is used for the: Bugle. |
Weapons
The stats for weapons can also be found here.
| Name | Fire Mode | Image | Weapon Type | Ammo Type | Capacity
[Dual] |
Damage
[Hardened] |
Fire Rate [Dual] | DPS
[Dual] |
Reload Time [Dual] | Special Features | Version Added | Countering |
|---|---|---|---|---|---|---|---|---|---|---|---|---|
| Fists | Swing |   |
Melee | N/A | N/A | 24 | 4 | 96 | 0.0 | N/A | Early game combat, but watch out for people who spam click with it. | |
| Knuckles | Swing |     |
Melee | N/A | N/A | 24 | 4 | 96 | 0.0 | N/A | Early game combat, but watch out for people who spam click with it. | |
| Karambit | Swing |       |
Melee | N/A | N/A | 24 | 4 | 96 | 0.0 | N/A | 2018-07-26 | Early game combat, but watch out for people who spam click with it. |
| Bayonet | Swing |     |
Melee | N/A | N/A | 24 | 4 | 96 | 0.0 | N/A | 2018-07-26 | Early game combat, but watch out for people who spam click with it. |
| Huntsman | Swing |     |
Melee | N/A | N/A | 24 | 6.7 | 96 | 0.0 | N/A | 2018-07-26 | Early game combat, but watch out for people who spam click with it. |
| Bowie | Swing |   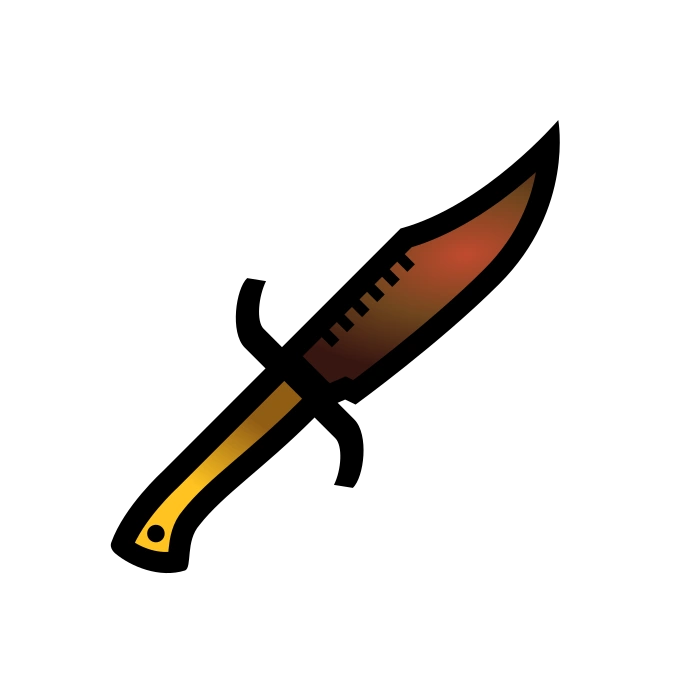  |
Melee | N/A | N/A | 24 | 4 | 96 | 0.0 | N/A | 2018-07-26 | Early game combat, but watch out for people who spam click with it. |
| Wood Axe | Swing |   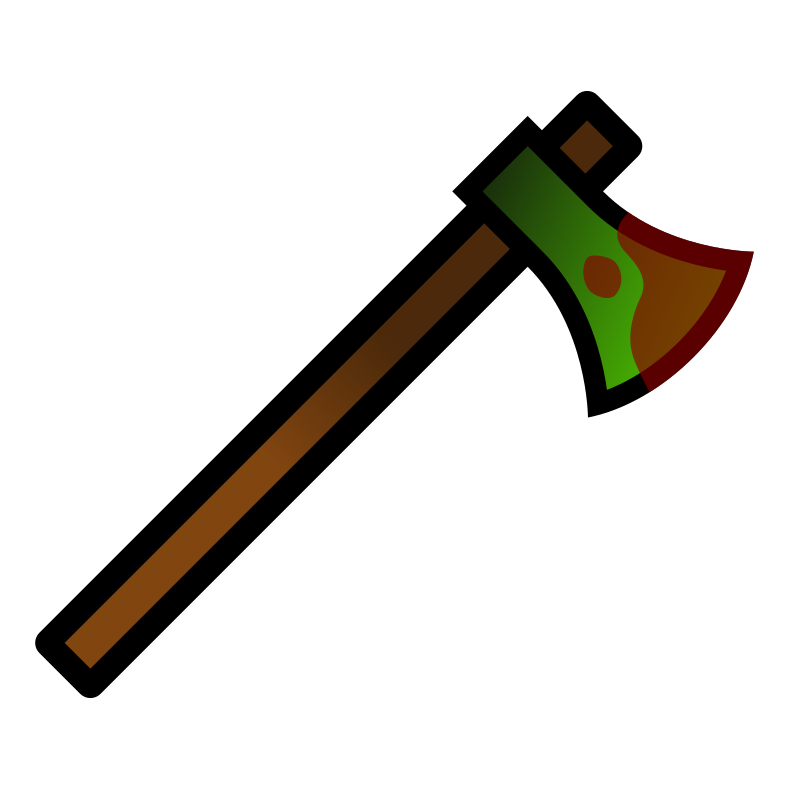  |
Melee | N/A | N/A | 36 | 2.8 | 101 | 0.0 | Armor Piercing (Can Break Ammo Crates) | 2018-07-26 | Simillar Countering for the Knives and Fists, be more careful since it has extra damage and range, and fast clicking. |
| Fire Axe | Swing |   |
Melee | N/A | N/A | 44 | 2.4 | 105 | 0.0 | Armor Piercing (Can Break Ammo Crates) | 2018-10-18 | Same Countering for the Wood Axe, but more careful since it has extremely high damage and fast clicking. |
| Hook | Swing |   |
Melee (Auto) | N/A | N/A | 18 | 5.7 | 103 | 0.0 | Automatic | 2018-07-26 | Same Countering for the Knives and Fists, but don't get in its way since it is automatic and you'll most likely get damaged. |
| Pan |
Swing |
  |
Melee | N/A | N/A | 60 | 2 | 120 | 0.0 | Appears on your back when not equipped. Unequipped Pan reflects bullets. | 2018-07-26 | Similar Countering for the Wood and Fire Axe, but try to avoid being in front of it as it has the highest damage of all the melees. Attack only when the player faces the Pan away you. |
| Katana | Swing | 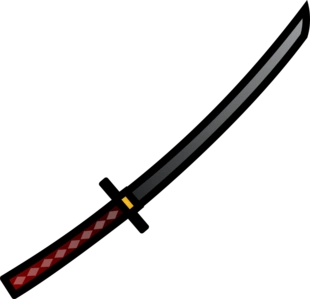  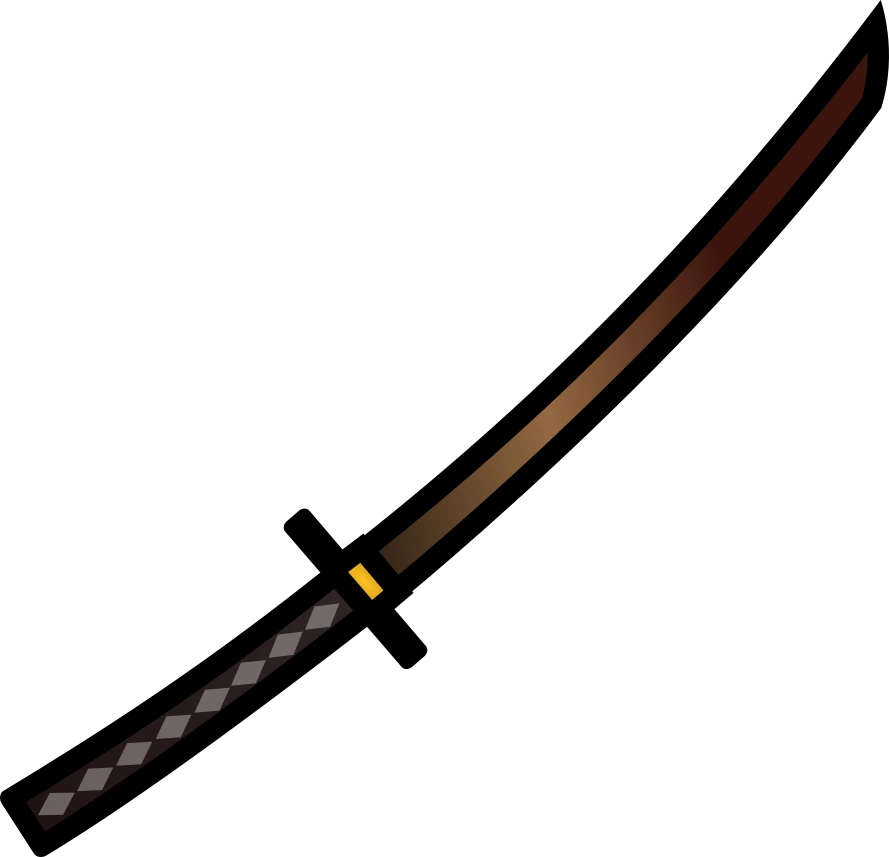      |
Melee | N/A | N/A | 40 | 2.5 | 100 | 0.0 | Armor Piercing (Can Break Ammo Crates), Cleave effect | 2018-10-29 | Similar Countering for the Wood and Fire Axe, but try to avoid being in front of it and keep extra range as it has the high damage and range. |
| Naginata | Swing |   |
Melee | N/A | N/A | 56 | 103.7 | 0.0 | Armor Piercing (Can Break Ammo Crates), Cleave effect | 2019-03-21 | Similar Countering for the Katana, but try to avoid being in front of it and keep extra range as it has the high damage and range. | |
| Stone Hammer | Swing | 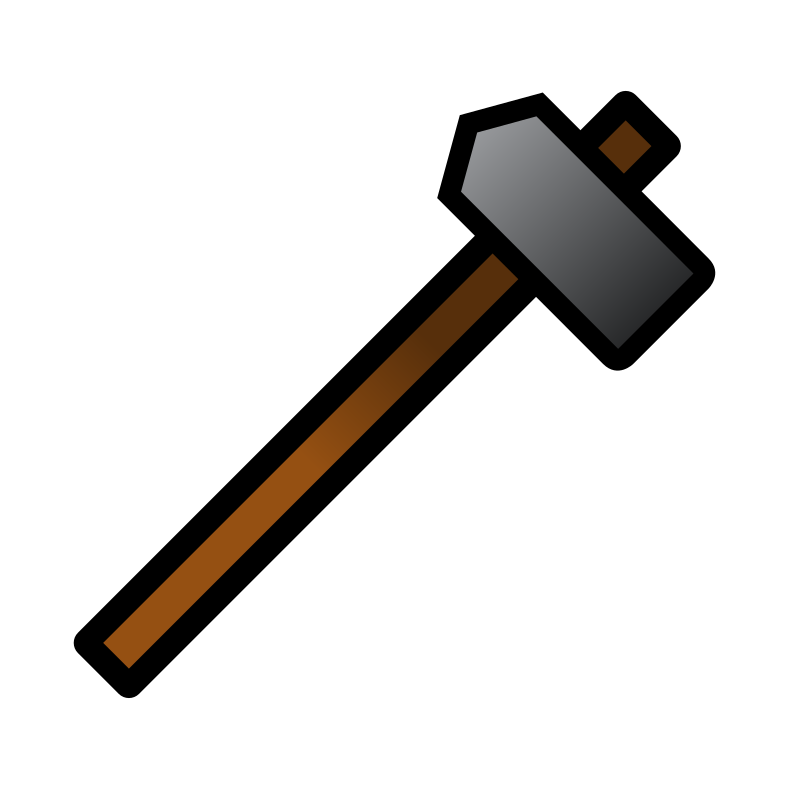  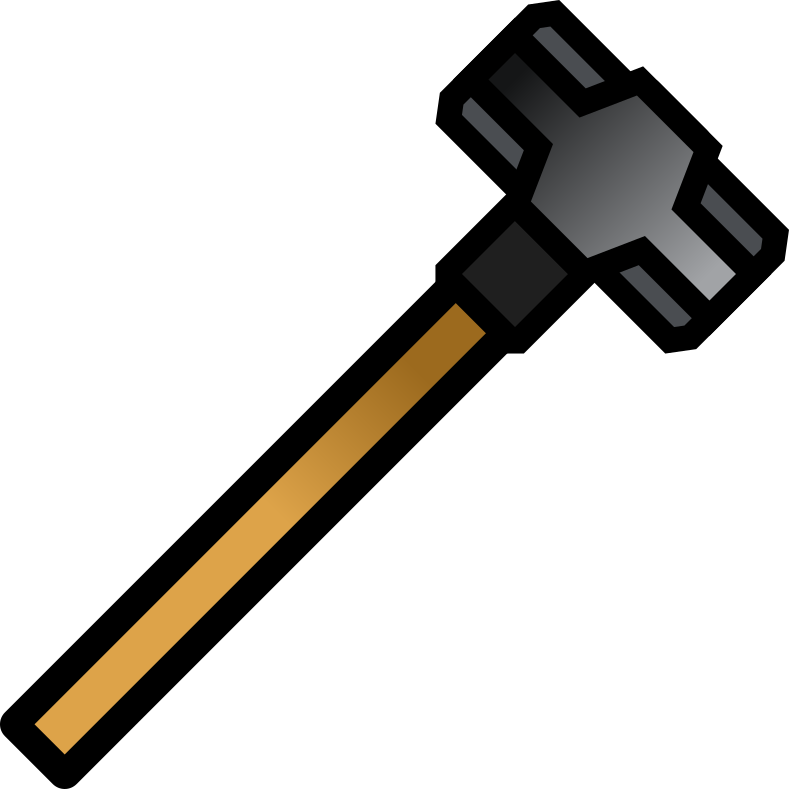  |
Melee | N/A | N/A | 60 | 2.5 | 120 | Armor Piercing and Stone Piercing (can break Ammo Crates and Stone-plated Obstacles) | 2018-10-06 | Keep your range, as it has extremely high damage. Or make sure you have a good amount of adrenaline since the hitbox is very small. | |
| War Hammer | Swing | 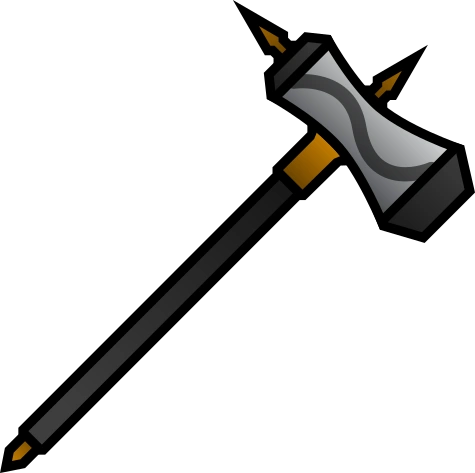  |
Melee | N/A | N/A | 64 | ? | ? | ? | Armor Piercing and Stone Piercing (can break Ammo Crates and Stone-plated Obstacles) | 2019-2-12 | Similar countering to the Naginata, since it's identical but more damage. |
| Machete | Swing |   |
Melee | N/A | N/A | 33 | 10/3 | 110 | N/A | 2019-01-31 | Keep your range, as it has high damage and fast CPS. | |
| Kukri | Swing |     |
Melee | N/A | N/A | 33 | 10/3 | 110 | N/A | 2019-01-31 | The same as the Machete. | |
| Bonesaw | Swing,
Double-action |
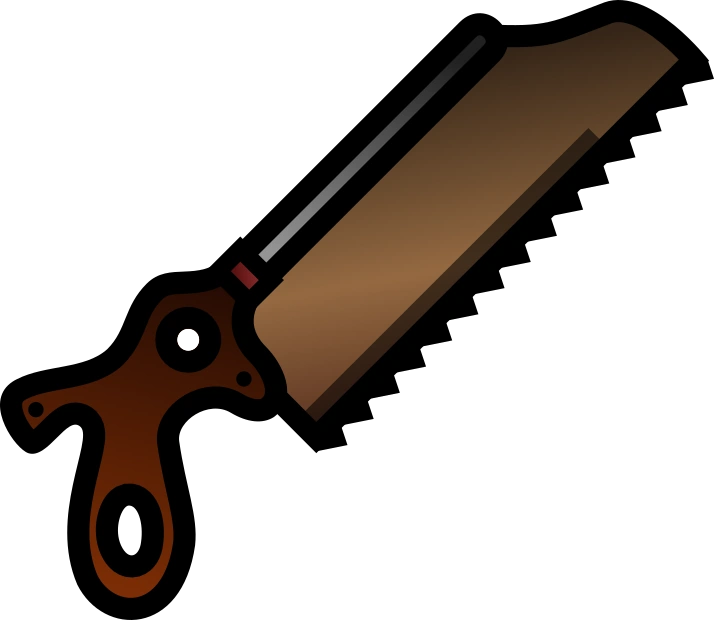  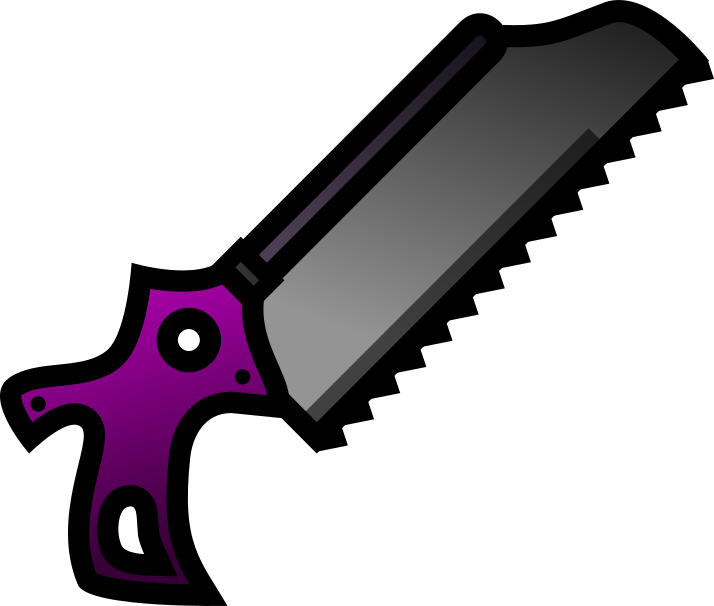  |
Melee | N/A | N/A | 44 | 127.5 | Cleave, Double-action | 2019-05-10 | Keep your range to avoid it from hitting you. And don't even think about getting close, since it has fast CPS and good damage. | ||
| Crowbar | Swing |     |
Melee | N/A | N/A | 33 | ? | N/A | 2019-2-12 | Keep your range to avoid it from hitting you. | ||
| Spade | Swing |   |
Melee | N/A | N/A | 40 | ? | N/A | N/A | 2019-2-12 | Keep your range to avoid it from hitting you. Or counter it with adrenaline, since the CPS is slower compare to other melee. | |
| Ice Pick | Swing | 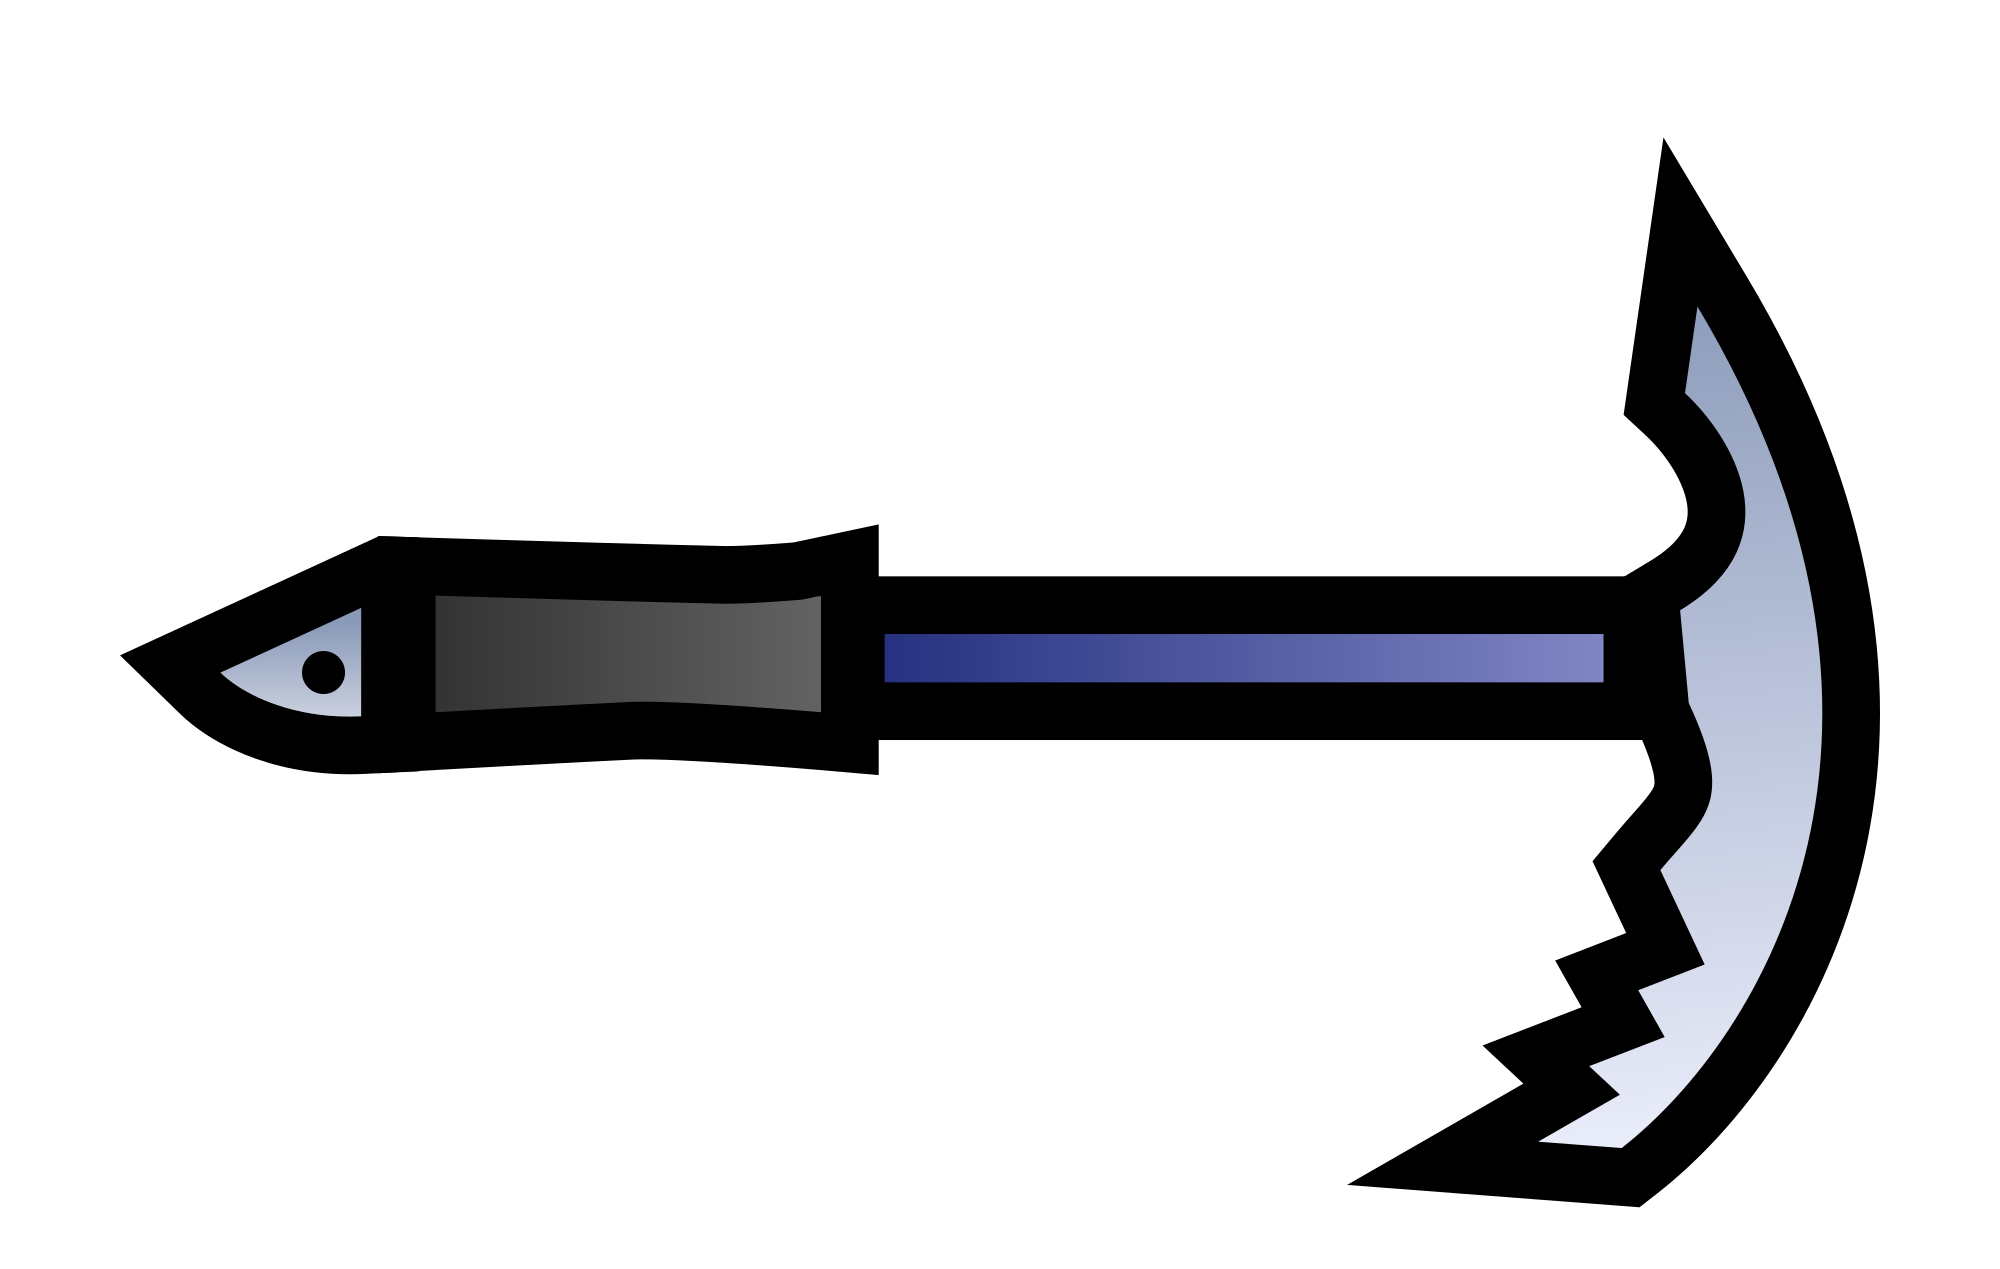  |
Melee | N/A | N/A | 52 | ? | N/A | N/A | Keep your range to avoid it from hitting you. | ||
| Lasr Swrd | Swing | 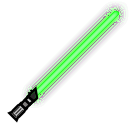  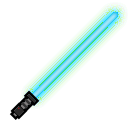    |
Melee | N/A | N/A | 60 | ? | N/A | Cleave Effect, Armor Piercing, Swings can deflect bullets. | Keep your range to avoid it from hitting you. Use a fully automatic weapon. | ||
| Frag Grenade | Throw |   |
Throwable | N/A | 125 | 2.5
(4 sec fuse) |
312.5 | 0.0 | N/A | Keep your range, as it will most likely one hit kill you if you don't have max armor. | ||
| Heart Frag | Throw |   |
Throwable | N/A | 125 | 2.5
(4 sec fuse) |
312.5 | 0.0 | N/A | Keep your range, as it will most likely one hit kill you if you don't have max armor. | ||
| Smoke Grenade | Throw |   |
Throwable | N/A | 0 | 2.5 | 0 | 0.0 | Gives visual cover. Reduces vision to 1x. | 2018-03-23 | Don't go in it. Or get in and wait the enemy to come, making a suprise attack (although this can be a disavantage if the enemy have a good scope and have a high damage weapon, checking the smoke if there's anyone, but this can also be a bait) | |
| MIRV Grenade | Throw |   |
Throwable | N/A | 125 | 2.5
(4 sec fuse) |
312.5 | 0.00 | Grenade splits into 6 smaller grenades that explode after the first explosion | 2018-10-18 | Keep your range, as it will most likely one hit kill you if you don't have good or max armor, keep away when it explodes, as smaller grenades will also form. | |
| Snowball | Throw |   |
Throwable | 2
[5] |
When hit drops a random item from your inventory | 2018-12-19 | Move around to avoid it hitting you. | |||||
| Potato | Throw |   |
Throwable | 2
[5] |
When hit drops a random item from your inventory | 2019-04-01 | Move around to avoid it hitting you. | |||||
| Strobe | Throw |   |
Throwable | N/A | 3 | 1 | 3 | Summons in an airstrike where it's thrown, in the direction thrown. | 2019-02-22 | Run away immediately when you see one throwing it. | ||
| Mine | Throw |   |
Throwable | N/A | 125 | 2.5
(4 sec fuse) |
312.5 | 0.0 | Lands on ground and arms in 5 seconds. Approaching triggers explosion after it is armed. Expires after ??? seconds. | Keep your range, as it will most likely one hit kill you if you don't have max armor. and you can also see the landmine, so quickly go on it and go away, or shoot on it (will trigger as well) | ||
| M9 | Semi-Automatic |     |
Pistol | 15
[30] |
12 | 8.3
[12.5] |
100
[150] |
1.6
[3.1] |
N/A | Almost every gun can counter it, however don’t get in close with someone who has dual M9s. | ||
| M93R | Burst (3) |     |
Pistol | 20
[40] |
12 (×3) | 10.8
[16.7] |
129.6
[200] |
1.8
[3.3] |
N/A | 2018-09-07 | Lethal at close range when dual wielded, stay at mid range and you should be fine. | |
| P30L | Semi-Automatic | 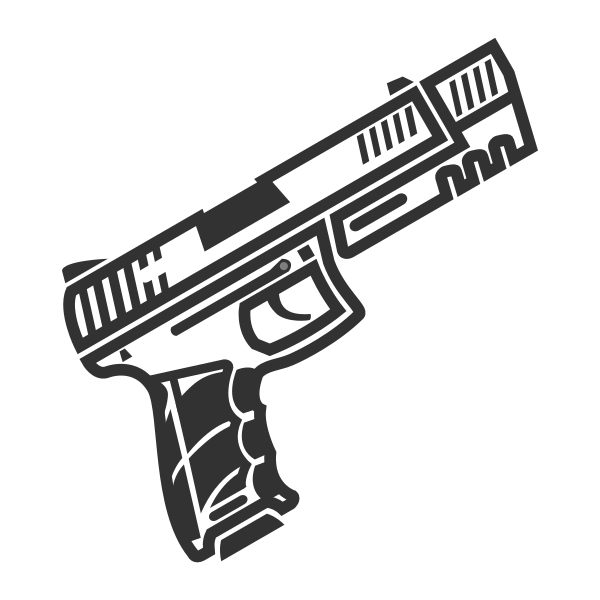  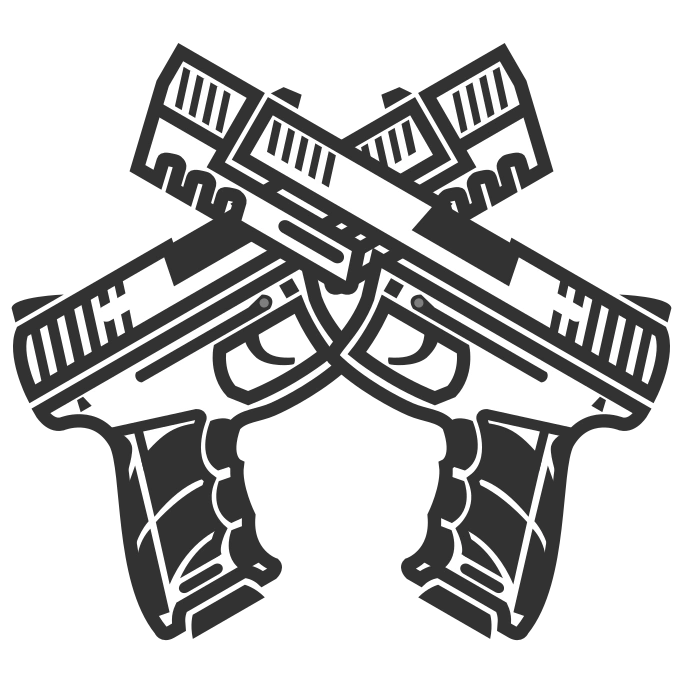  |
15
[30] |
21 | 0.14 | 150 | 1.2 | No speed effect (Speed will still be 1) | 2019-05-30 | Try to stay at mid range and strafe to avoid being hit. When dual wielded this is very deadly, so take the enemy out as fast as possible. | ||
| MP5 |
Auto |
  |
SMG | 30 | 11 | 11.1 | 122.2 | 2.0 | N/A | This weapon excels at mid range, so try to get in close and circle them or stay at a farther range and take them out. | ||
| G18C | Auto |   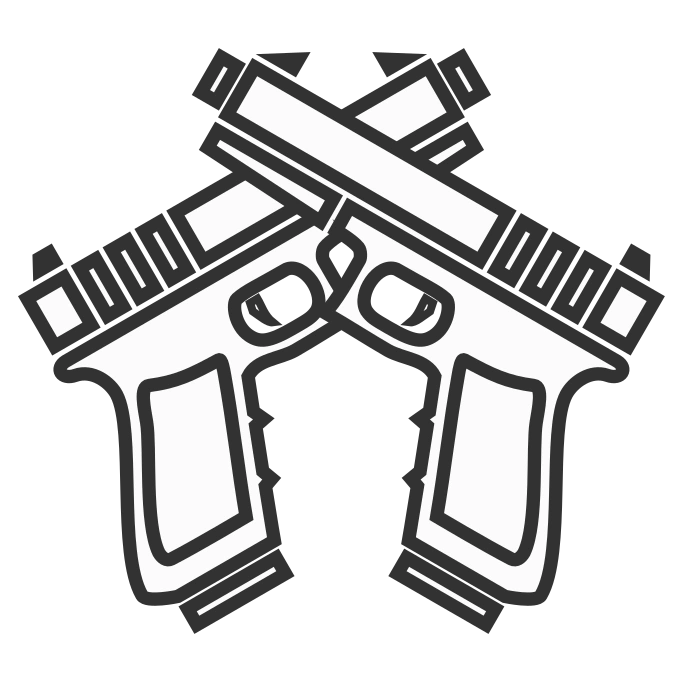  |
Pistol | 17
[34] |
9 | 16.7
[33.4] |
150
[300] |
1.95
[3.8] |
N/A | 2018-01-30 | Stay at a mid range and you can incapacitate them easily. Dual glocks at very close range is a death sentence. | |
| MAC-10 | Auto |   |
SMG | 32 | 9.25 | 22.2 | 205.6 | 1.8 | N/A | 2017-12-19 | Stay at mid range and most of the shots will miss. Avoid getting in close as this is deadly at close range. | |
| UMP9 | Burst (3) |   |
SMG | 30 | 15 (×3) | 8.8 | 132 | 1.9 | N/A | 2018-01-23 | Get in close as this is a burst weapon and you can probably outgun your opponent. | |
| Vector (9mm) | Auto |   |
SMG | 33 | 7.5 | 26.3 | 197.4 | 1.6 | N/A | 2018-05-10 | Circle the opponent as the fast fire rate will not be effective. | |
| CZ-3A1 | Auto |   |
SMG | 30 | 10.75 | 18.18 | 195.45 | 2.1 | Suppressed. Bullets fade. | 2018-11-29 | Stay at mid to long range because this weapon will shred you up close. | |
| VSS | Semi-Automatic | 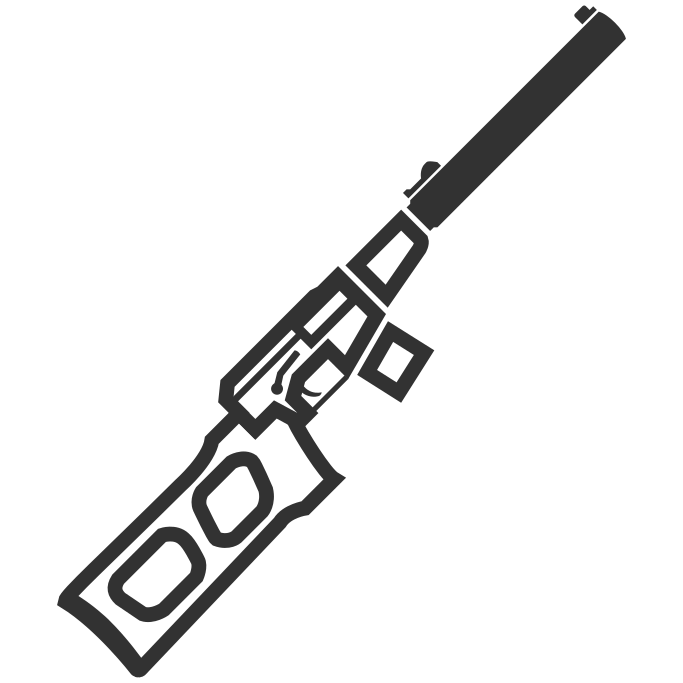  |
DMR | 20 | 22 | 6.25 | 137.5 | 2.3 | Suppressed. Bullets fade. | Get in close with a fast firing weapon or take pot shots at them from behind cover. | ||
| M870 | Pump-Action | 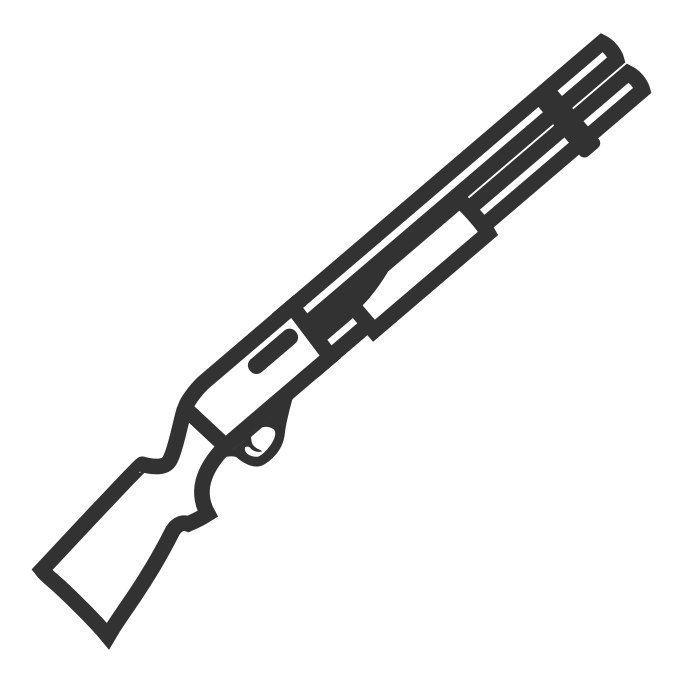  |
Shotgun | 5 | 112.5 (12.5×9) | 1.1 | 125 | 0.75 (x5) | N/A | Deadly weapon in closed spaces at close ranges. Keep a mid distance and you should be able to dodge the pellets. | ||
| MP220 | Single Shot |   |
Shotgun | 2 | 112.5 (12.5×9) | 5.0 | 562.5 | 2.6 | N/A | 2017-11-28 | Stay at mid ranges and you should be fine. | |
| Saiga-12 | Auto | 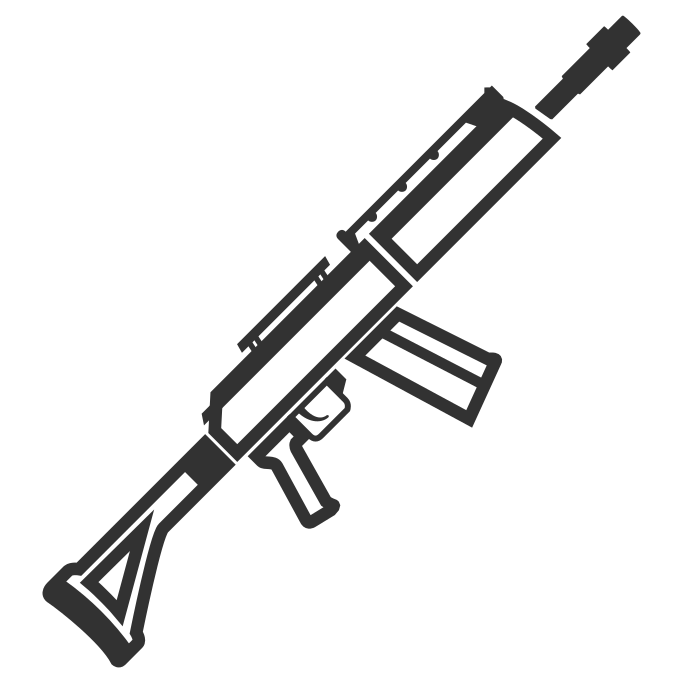  |
Shotgun | 5 | 112.5 (12.5×9) | 2.5 | 281.25 | 2.5 | N/A | Since this has a lower range than most shotguns, you can get in a little closer and kill the enemy quickly. | ||
| SPAS-12 |
Pump-Action |
  |
Shotgun | 9 | 78.75 (8.75x9) | 1.33 | 105 | 0.5 (x9) | Tighter grouping | 2018-06-21 | This shotgun has a surprising range. Stay at longer ranges to take advantage of bullet drop off and pick them off with a rifle. | |
| USAS-12 | Auto |   |
Shotgun | 10 | 12 | 2 | 24 | 2.9 | Fires fragmentation rounds | 2018-10-18 | Keep your range, DO NOT go in range unless ABSOLUTELY necessary. Fighting inside a bunker is better sice the enemy can get self-damaged and bullet reflects. | |
| M1100 | Semi-Automatic |   |
Shotgun | 4 | 72
(4x18) |
3.33 | 239.76 | 0.7 (x4) | Wider spread. When you hit shots feathers come out (Thanksgiving only). | 2018-11-19 | This shotgun is very deadly at close range, so stay at a mid range since it’s accuracy is poor and you will most likely kill them while taking little damage. | |
| Super 90 | Semi-Automatic |   |
Shotgun | 8 | 77 | 2.5 | 192.5 | 0.52
(x8) |
Uses precision slug rounds that appear to be 1 bullet. First-Shot Accuracy | 2019-01-31 | Use in mid to long range. Unlike most shotguns, this can substitute a sniper. Also hiding won't work due to very fast reloading. | |
| Hawk 12G | Pump-Action |   |
Shotgun | 5 | 112.5 (12.5×9) | 1.43 | 160.71 | 2.5 | Uses Buckshot like the M870. Tighter grouping. | The gun is lethal at destroying structures/objects so hiding won't work. Best option is get high adrenaline and dodge bullets. | ||
| Lasr Gun | Single Shot |     |
Pistol | 7
[14] |
42 | 6.25
[8.33] |
262.5
[350] |
2.3
[4.0] |
Fires laser shots that can reflect off any obstacle. | Best option is get high adrenaline and dodge bullets. | ||
| OT-38 | Double Action (Single Shot) | 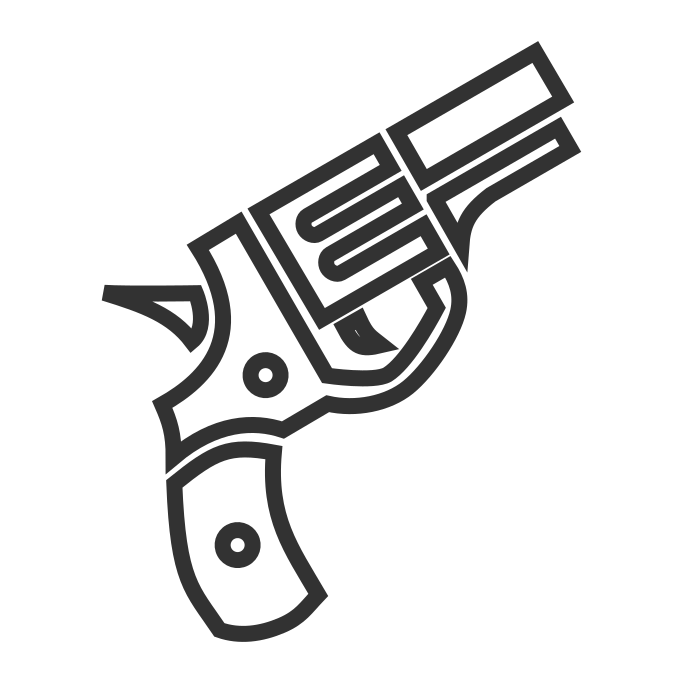    |
Pistol | 5
[10] |
26 | 2.5
[5.0] |
65
[130] |
2.0
[3.8] |
N/A | 2017-11-24 | You can outgun your opponent with a fast weapon, however this gun does a lot of damage when dual wielded if most of the shots hit so take them out quickly. | |
| AK-47 | Auto |   |
Assault Rifle | 30 | 13.5 | 10.0 | 135 | 2.5 | N/A | This gun is less accurate at long range so find a more accurate gun and take them out. | ||
| M39 EMR | Semi-Automatic | 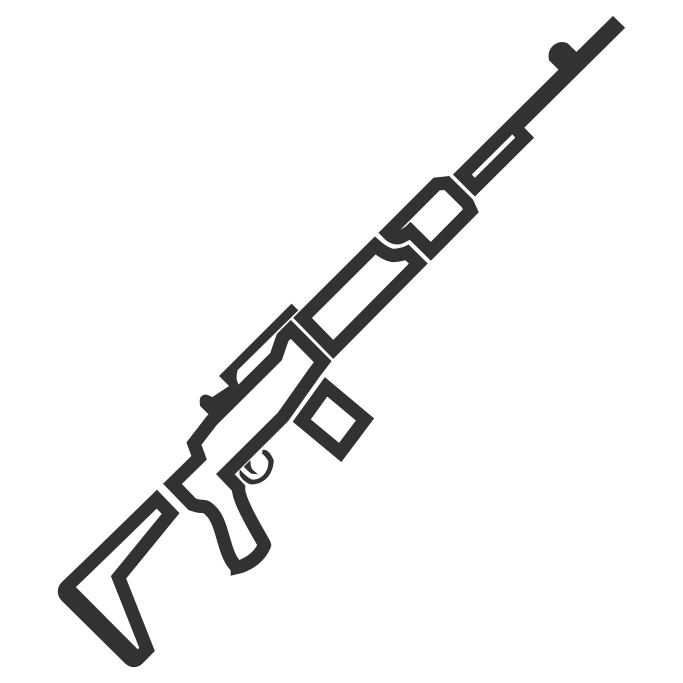  |
DMR | 20 | 24.5 | 5.0 | 122.5 | 2.5 | N/A | Since this is a semi automatic rifle you can rush them with an automatic weapon and most likely kill them. | ||
| DP-28 | Auto | 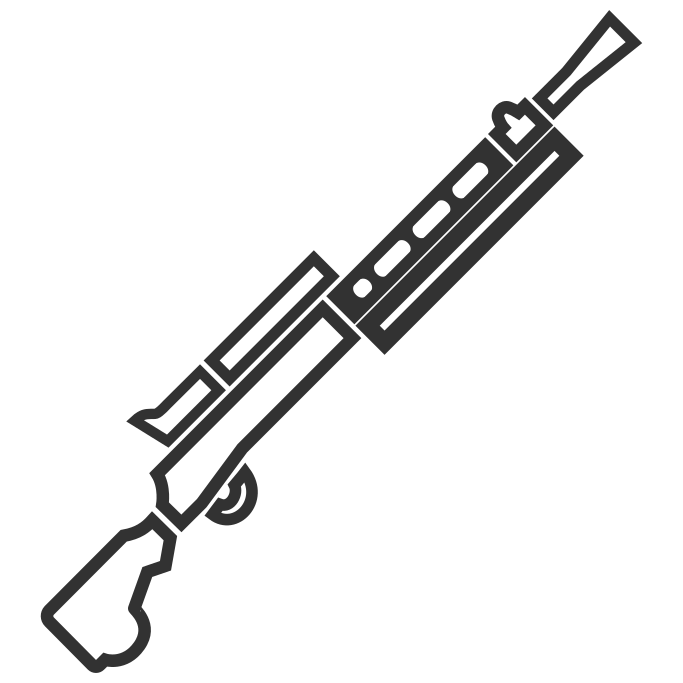  |
LMG | 60 | 14 | 8.7 | 121.7 | 3.3 | N/A | 2017-12-12 | Stay at mid to long range and shoot them with a rifle as more of your shots will hit than theirs. | |
| Mosin-Nagant | Bolt-Action (Single) |   |
Sniper Rifle | 5 | 72 | 0.5 | 36 | 0.9 (x5) | N/A | Deadly in the hands of an expert marksman, get in close and gun them down before they hit you too many times. | ||
| SCAR-H | Auto |   |
Assault Rifle | 20 | 15 | 11.1 | 166.7 | 2.7 | N/A | 2018-04-10 | Take advantage of the lower ammo capacity and rush them with a faster firing weapon. | |
| SV-98 | Bolt-Action (Single) | 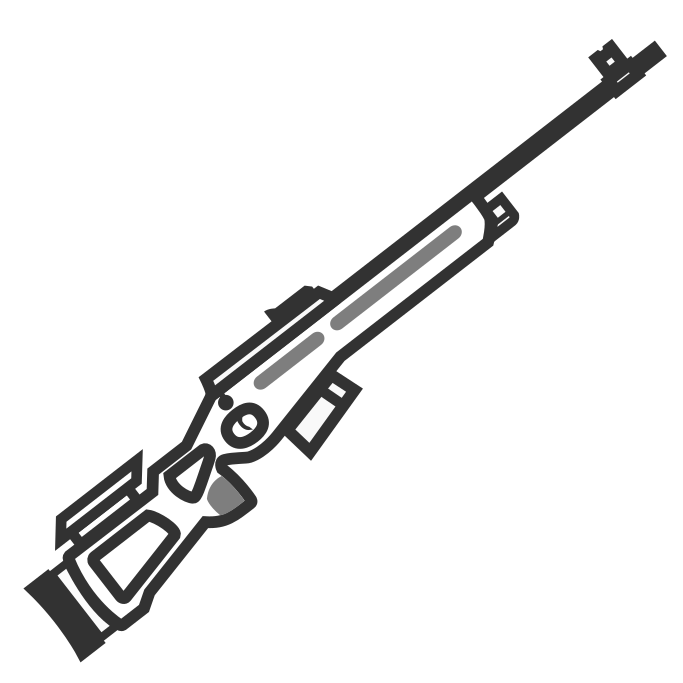  |
Sniper Rifle | 10 | 80 | 0.7 | 53.3 | 2.7 | N/A | 2018-06-02 | Essentially a better mosin nagant, either outgun them at close range or throw smoke grenades and advance on them that way. | |
| PKP Pecheneg | Auto |   |
LMG | 200 | 18 | 10 | 180 | 5 | N/A | 2019-04-15 | Somewhat accurate LMG, stay at longer ranges and take them out with a more accurate weapon. | |
| BAR M1918 | Auto | 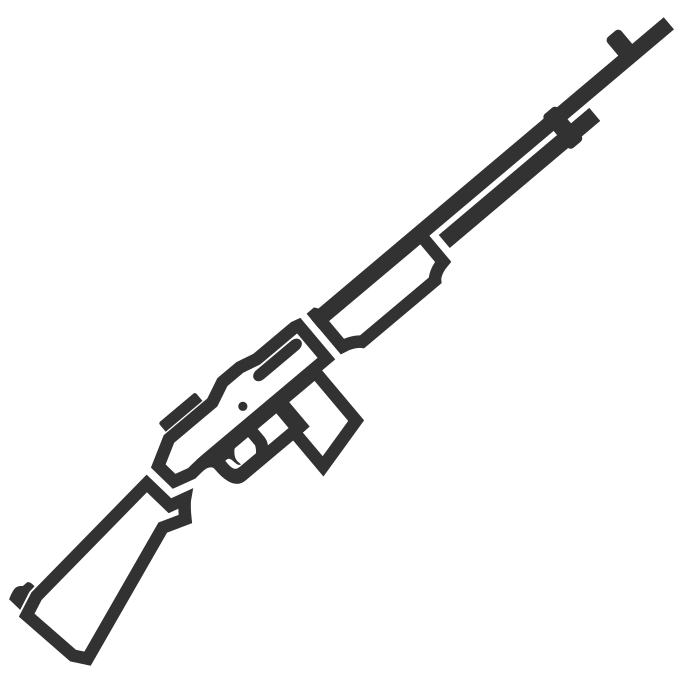  |
LMG | 20 | 17.75 | 8.3 | 147.92 | 2.7 | N/A | 2018-10-18 | Attack when they reload, or shoot them with a higher DPS weapon. | |
| M1 Garand | Semi-Automatic | 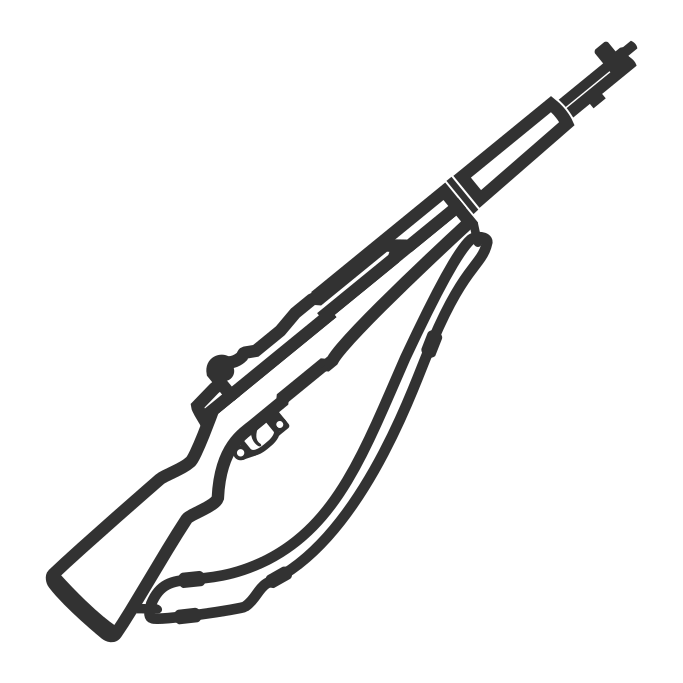  |
DMR | 8 | 32 | 5 | 160 | 2.0 | First-Shot Accuracy | 2018-07-26 | Wait until they emptied the gun, then rush them while they reload. But don’t get too close. | |
| OTs-38 | Double Action (Single) |     |
Pistol | 5
[10] |
32 | 2.86
[5.76] |
88.89
[177.78] |
2.0
[3.8] |
Suppressed | 2018-12-19 | An upgraded version of the normal OT-38, they will most likely be dual wielding this, so take them out before you are hit too many times. | |
| Groza | Auto | 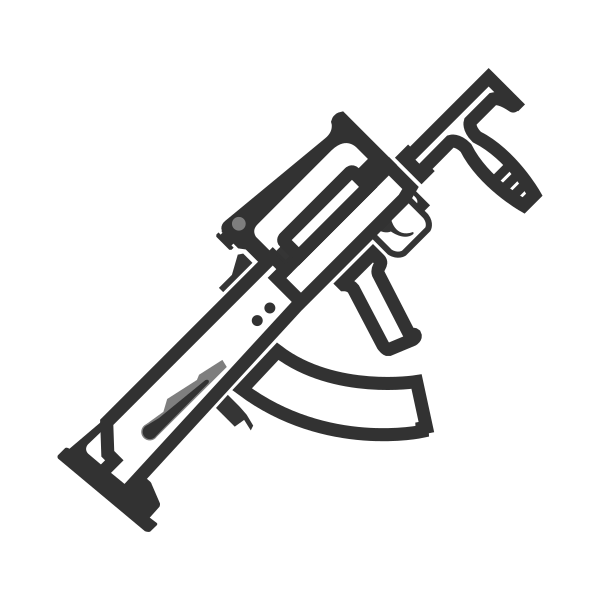  |
Assault Rifle | 30 | 12.5 | 12.82 | 160 | 2.8 | N/A | 2019-05-30 | Out-DPS then at mid range, as this is lethal at close range. | |
| Groza-S | Auto | 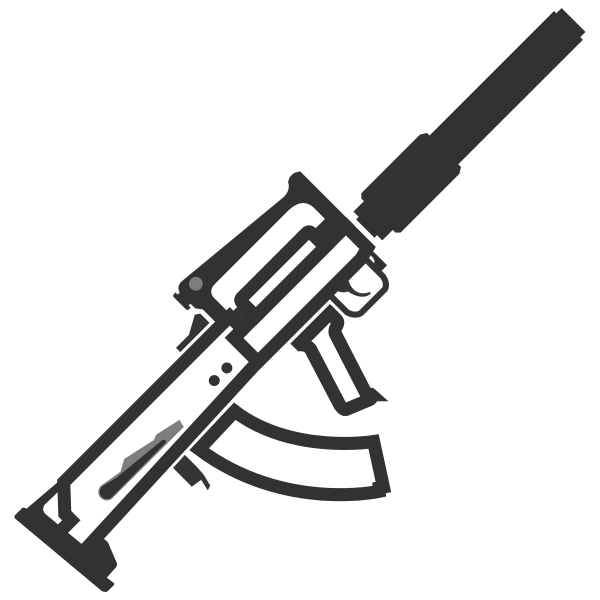  |
Assault Rifle | 30 | 13 | 12.82 | 166.67 | 2.8 | Suppressed | 2019-05-30 | Harder to see bullets, do the same as you would a normal Groza. | |
| AN-94 | Burst (3) | 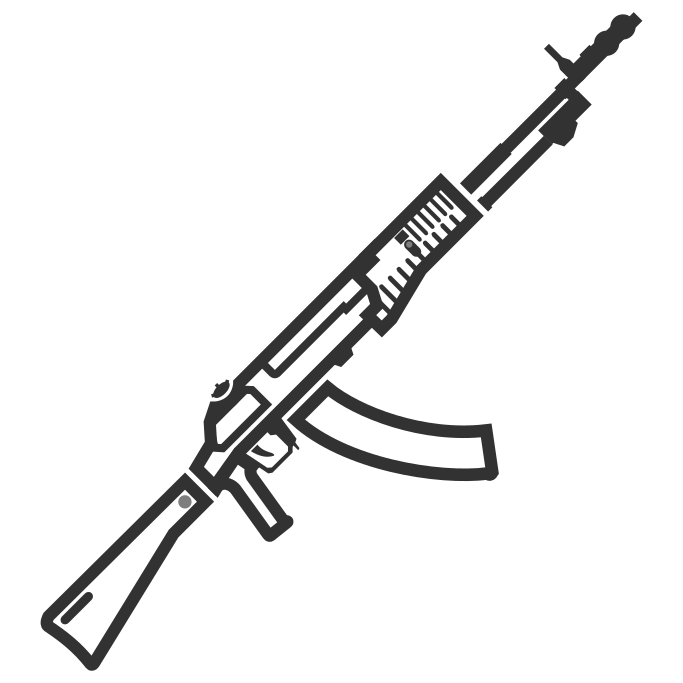  |
Assault Rifle | 45 | 17.5 | 14.4 | 146 | 2.35 | N/A | 2019-01-31 | Rush to the shooter in a zigzag running style to dodge the bullets. When you reach him use a Melee or a high DPS Weapon. But can be lethal if enemy cause a chain reaction, making you die easily. | |
| SVD-63 | Semi-Automatic | 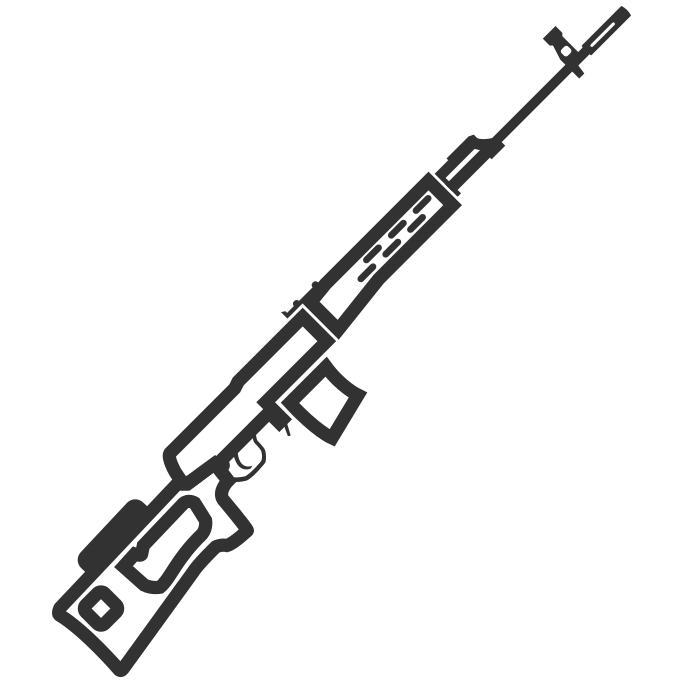  |
DMR | 10 | 36 | 4.0 | 144.0 | 2.5 | N/A | Get to long range since the bullet won't last long. | ||
| BLR-81 | Lever Action (Single) | 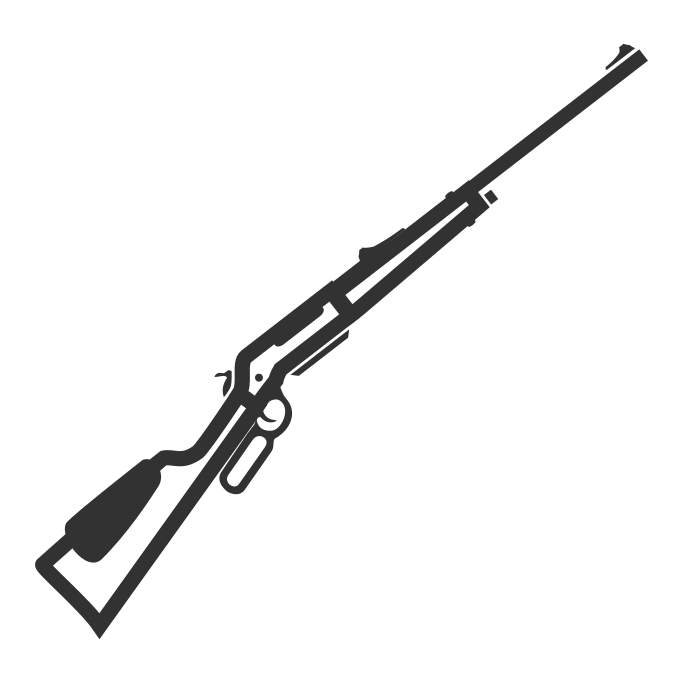  |
Sniper Rifle | 3 | 56 | 1.25 | 70.0 | 1.7 | N/A | Very easy to dodge bullets, just rush in with a high DPS weapon. | ||
| PKM | Full-Automatic | 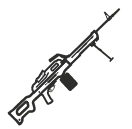  |
LMG | 100 | 15 | 10.0 | 150.0 | 6.0 | N/A | Don't hide, since it's capable to destroy structures/objects, just run with high adrenaline or rush in with a very high DPS gun. | ||
| M134 | Full-Automatic | 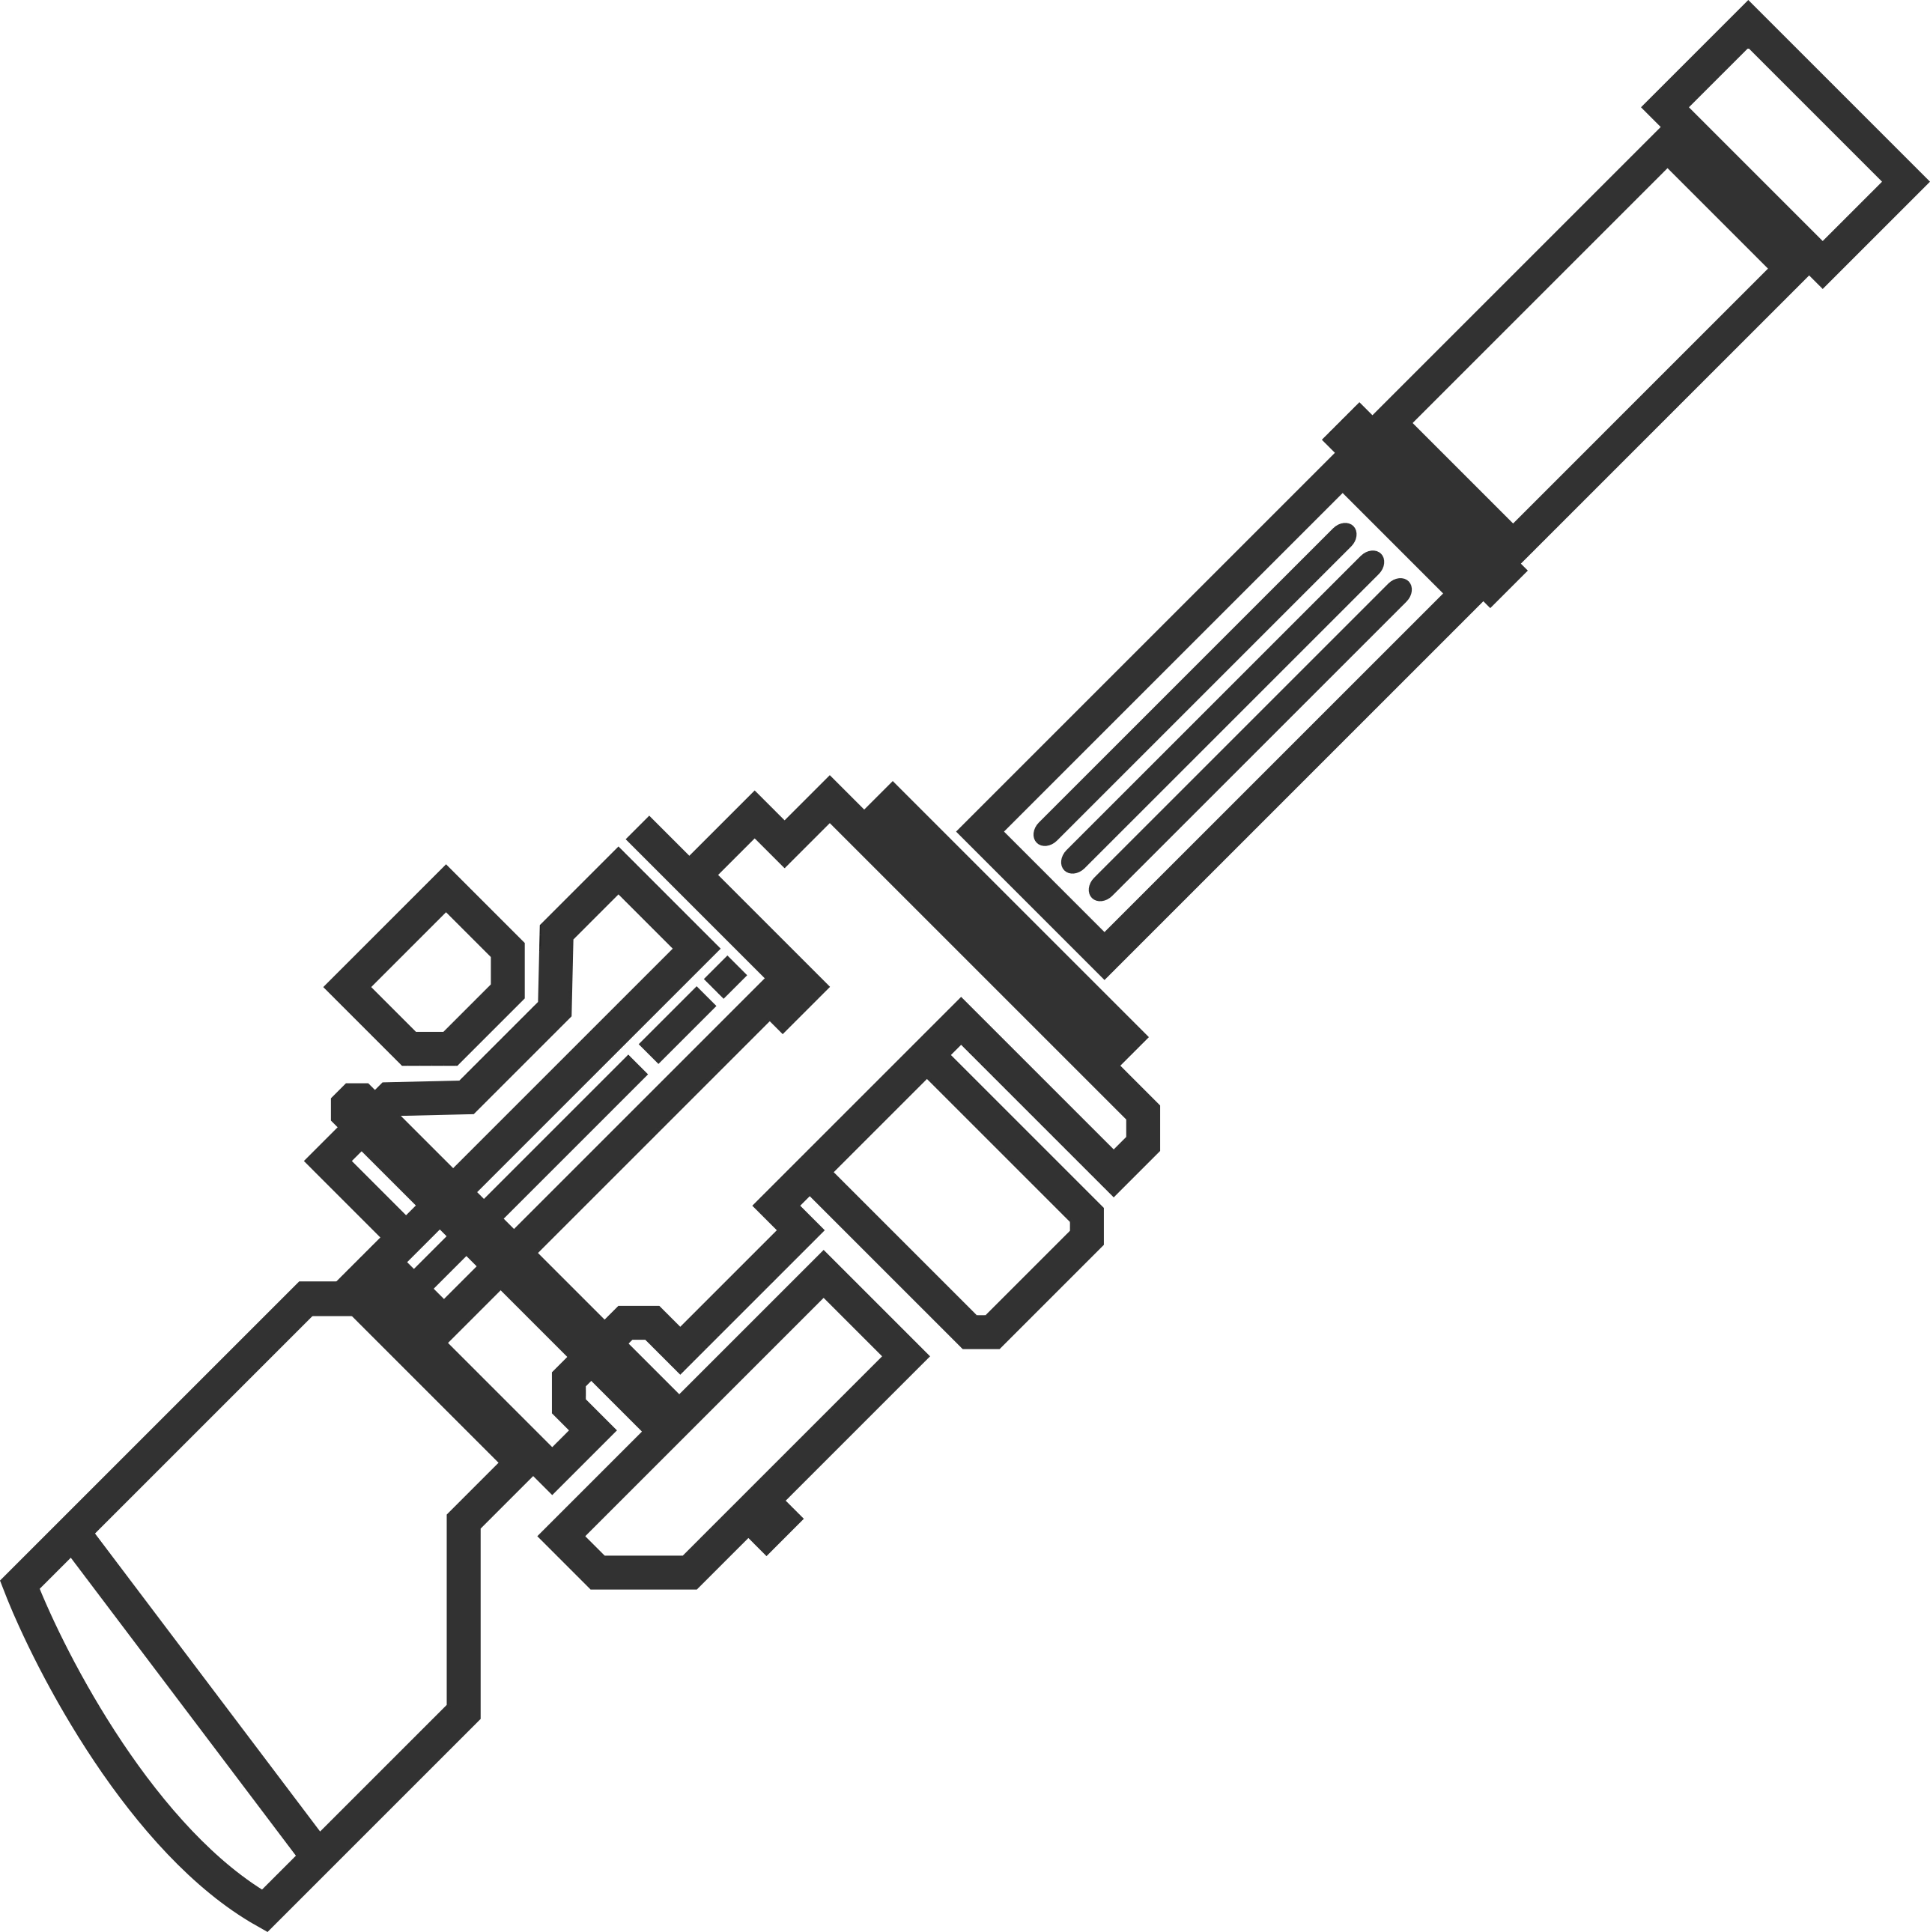  |
LMG | 200 | 10 | 18.18 | 181.82 | 8.0 | Slows movement when holding/firing. | This gun is very accurate. You can either try and snipe them at long range, out dps at mid range while moving from cover to cover, or rush in at close range and hope that you can easily shoot them due to their slowness. | ||
| Water Gun | Full-Automatic | 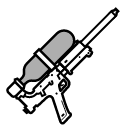  |
Pistol | 30 | 5.5 | 10.0 | 55 | 2.5 | Cannot Ricochet. | Try getting the fight into a Warehouse or Bunker. That way, you can reflect your bullets but your enemy can't. | ||
| FAMAS | Burst (3) | 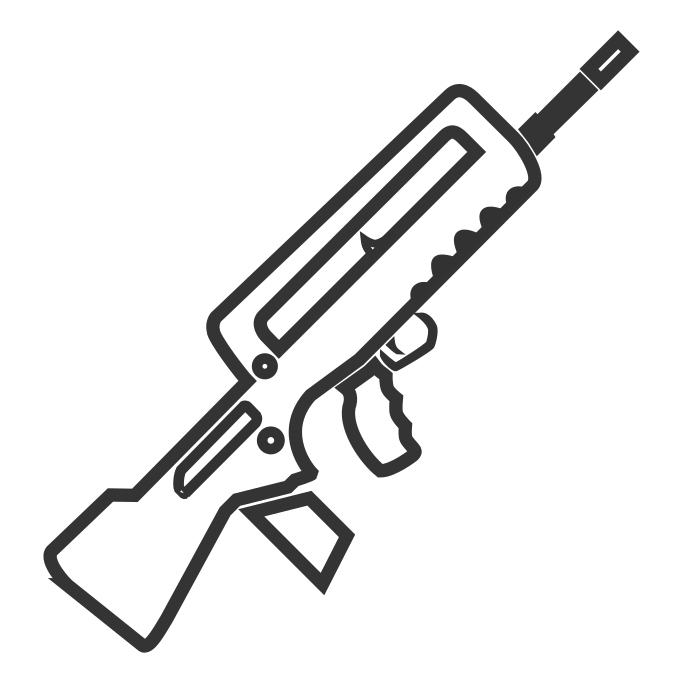  |
Assault Rifle | 25 | 17 (×3) | 8.8 | 149.6 | 2.3 | N/A | 2018-02-20 | Rush them and you will be fine as you can out dps them while their next burst is being prepared. | |
| M416 | Auto | 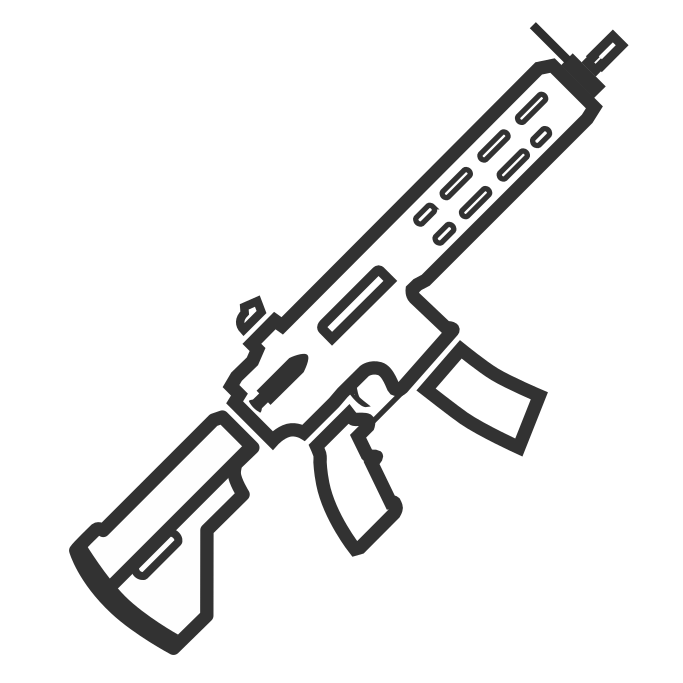  |
Assault Rifle | 30 | 11 | 13.3 | 146.7 | 2.3 | N/A | 2018-02-20 | Stay at a longer range due to the drop off and inaccuracy this gun suffers at longer ranges. | |
| M4A1-S | Auto | 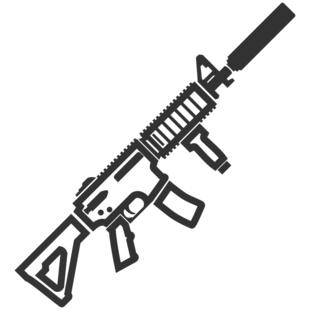  |
Assault Rifle | 30 | 14 | 12.2 | 170.8 | 3.1 | Suppressed. Bullets fade. | 2018-09-07 | Hard to see bullets, Higher accuracy than the M416, This weapon is deadly at close to mid ranges, so try and keep your distance. | |
| Mk 12 SPR | Semi-Automatic | 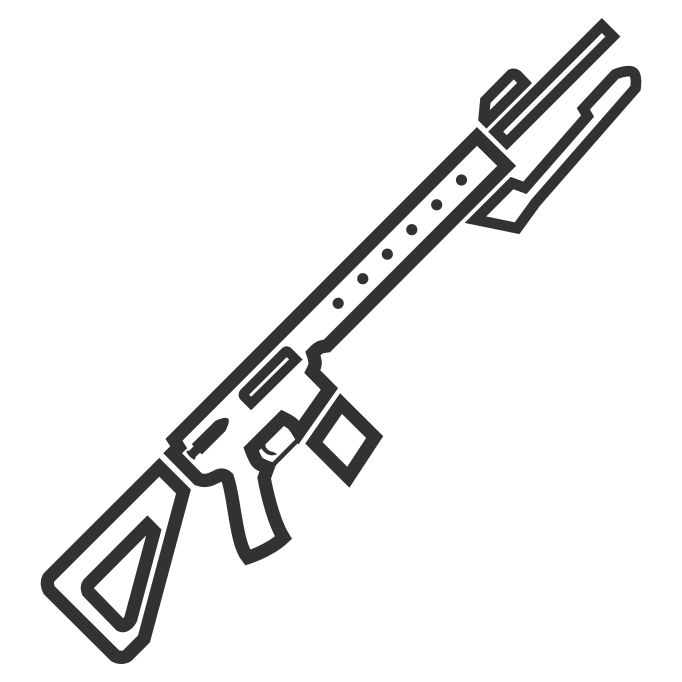  |
DMR | 20 | 19.5 | 6.7 | 130 | 2.4 | N/A | 2018-02-20 | Since this is a semi automatic weapon, rush them and you will most likely be fine. | |
| Scout Elite | Bolt-Action (Single) |   |
Sniper Rifle | 5 | 56 | 56 | 2 | N/A | 2019-06-26 | Less damaging than other sniper rifles, you can try and quickly eliminate them at mid range or get in close and outgun them. | ||
| M249 | Auto | 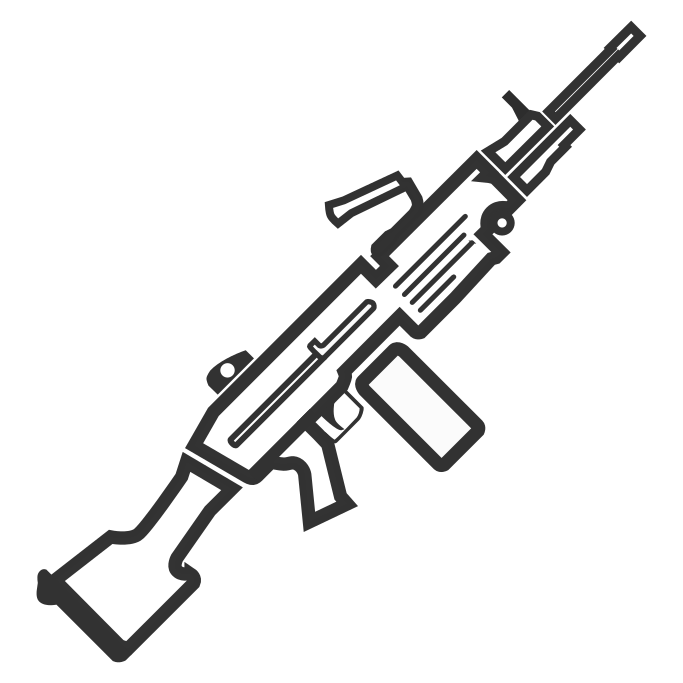  |
LMG | 100 | 14 | 12.5 | 175 | 6.7 | N/A | 2018-02-20 | Get bug a adrenaline and try to take potshots while moving from cover to cover, this will be easier due to their lower speed. | |
| QBB-97 | Auto | 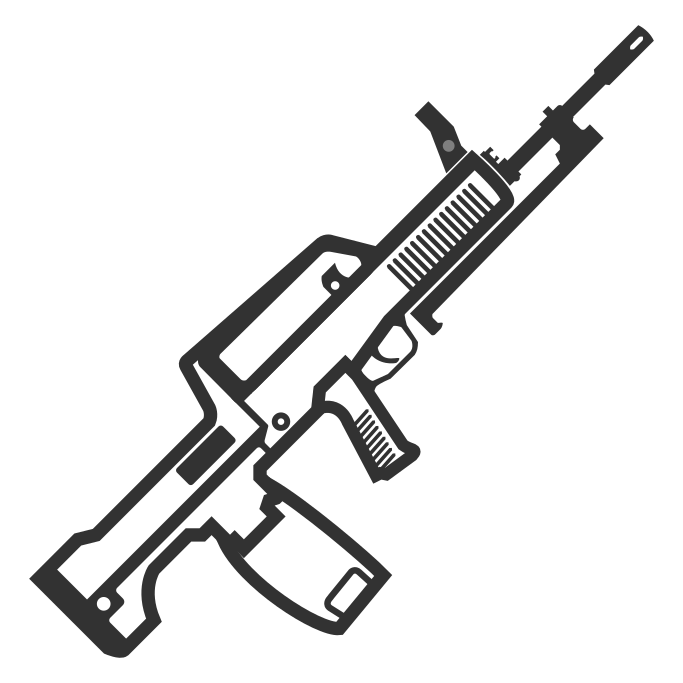  |
LMG | 75 | 14 | 10 | 140 | 4.0 | N/A | 2018-07-26 | Lethal at short ranges, try and out dps them with a rifle at mid range. | |
| L86A2 | Semi-Automatic |   |
DMR | 30 | 26.5 | 5.26 | 139.47 | 2.9 | N/A | Lethal if the enemy have a good scope, spamming at you continously. | ||
| DEagle 50 | Semi-Automatic | 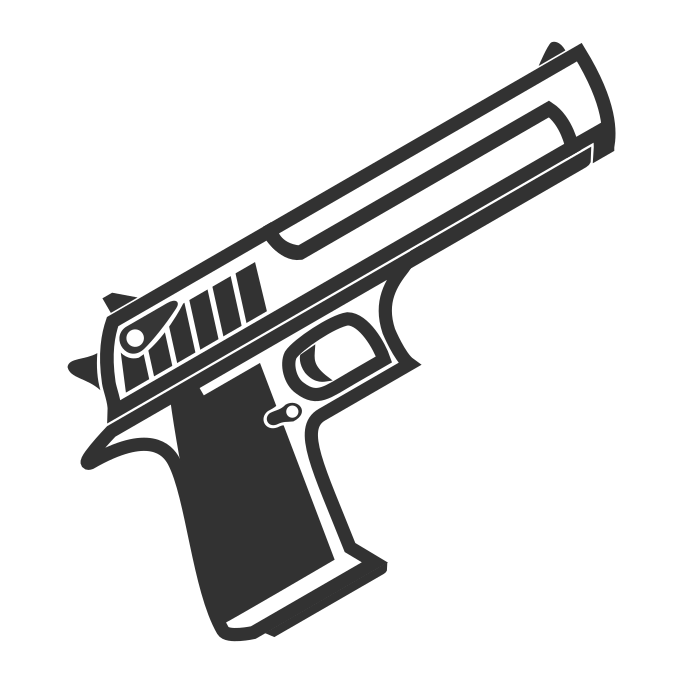  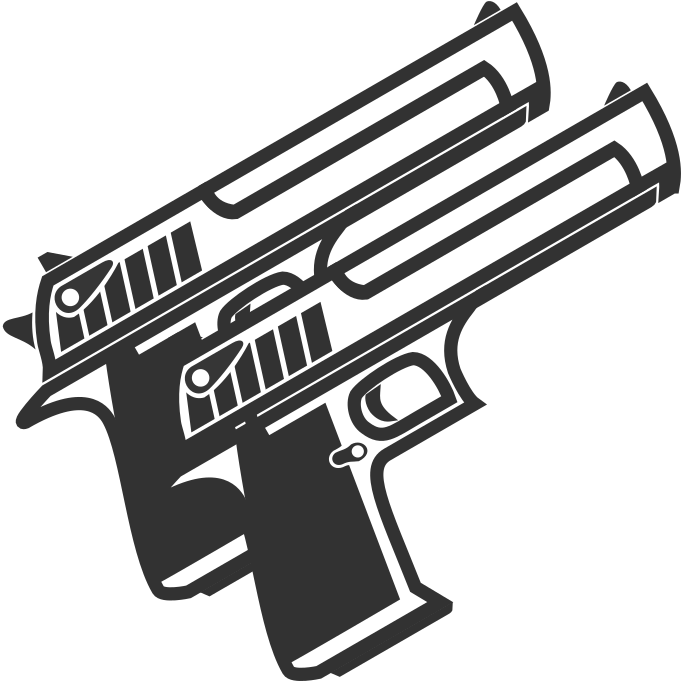  |
Pistol | 7
[14] |
35 | 6.2
[8.3] |
218.75
[291.7] |
2.3
[4.0] |
First-Shot Accuracy | 2018-04-26 | When used by itself, you can try and attack them at mid range or use an SMG at close range. Extremely deadly when dual wielded, take them out as fast as possible with at mid range if this is the case. | |
| AWM-S | Bolt-Action (Single) | 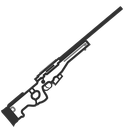  |
Sniper Rifle | 5 | 180 | 0.7 | 126 | 3.6 | Suppressed | 2018-07-26 | Use cover to your advantage, do not get hit by this as they will most likely switch to their secondary and kill you if you are hit. Easiest way to counter is to get in close range and dispatch them quickly. | |
| Mk 20 SSR | Semi-Automatic | 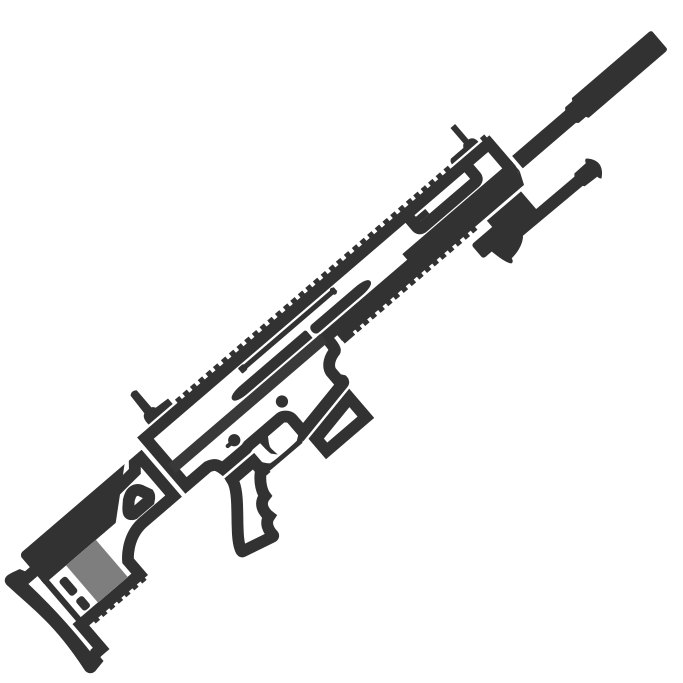  |
DMR | 10 | 60 | 3.33 | 200 | 2.7 | Suppressed | Move around, Mk 20's slow velocity makes you very hard to hit. Also EXTREMELY LETHAL at close/mid range. | ||
| Flare Gun | Single |     |
Pistol | 1
[2] |
0 | 2.5 | 0 | 2.0 | Summons Air Drop | 2018-07-26 | The gun does no damage itself, however if the user fires it then stay away from the incoming air drop so you aren’t crushed. | |
| Model 94 |
Lever Action (Single) |
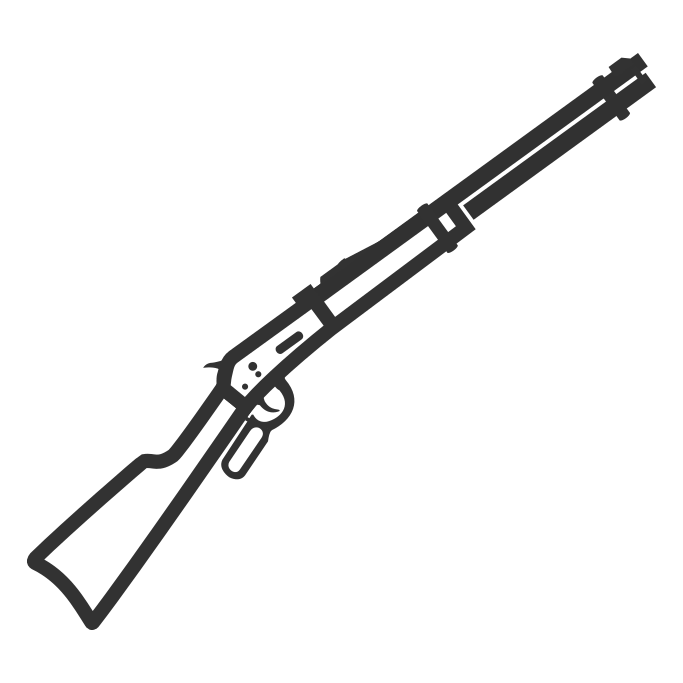  |
Sniper Rifle | 8 | 44 | 1.33 | 58.63 | 0.6 (x9) | N/A | 2018-09-22 | Get in close and out DPS them. In the hands of a good marksman this weapon can be deadly at long range. | |
| Peacemaker |
Single Action (Auto) |
    |
Pistol | 6
[12] |
29 | 8.33
[7.69] |
241.6
[223] |
3.0
[5.1] |
First-Shot Accuracy | 2018-09-22 | Most people fan the hammer with this gun, so stay at mid range and allow most of their shots to miss while you take them out. Much deadlier when dual wielded, stay out of confined areas and keep your distance. | |
| M1A1 | Auto |   |
SMG | 30 | 13 | 10.5 | 136.84 | 2.9 | N/A | 2018-11-08 | This will shred you at close range, keep a medium distance and take them out. | |
| M1911 | Semi-Automatic |     |
Pistol | 7
[14] |
14 | 7.7
[11.8] |
107.6
[164.71] |
2.1
[3.6] |
N/A | 2018-11-08 | Don’t get in close, mid range will easily be able to take them out. | |
| Vector (.45 ACP) | Auto |   |
SMG | 25 | 9.5 | 22.73 | 215.91 | 1.6 | N/A | 2018-11-08 | Higher dps than the normal vector due to chambering. .45 ACP ammo, keep a distance and strafe often to make most of their shots miss. | |
| Mk45G | Semi-Automatic |   |
DMR | 13 | 28 | 5.88 | 164.71 | 2.1 | N/A | |||
| M79 | Single-shot |   |
Cannon | 1 | 125 | 2.3 | Fires explosives | Don’t be inside or near buildings, and constantly keep moving since the shell takes some time to reach you. | ||||
| Potato Cannon | Single | Cannon | 4 | 95 | 95 (1.3x to Obstacles) |
Shoots explosive Potatoes that can stun victims and forcefully remove an item | 2019-06-07 | Move around with high Adrenaline to make sure it won't hit you. Hitting one can resulting in a chain reaction which leads to death. Lethal at close range, but the enemy can also self damage due to explosion. | ||||
| Spud Gun | Auto |   |
SMG | 30 | Unknown | Unknown | Shoot potato wedges that when hit, expand the opponent. | Very lethal since this gun can make you have a bigger hitbox, but the thing is everyone can get expanded (including your teamate, yes) so becareful when using it. | ||||
| Heart Cannon | Single | 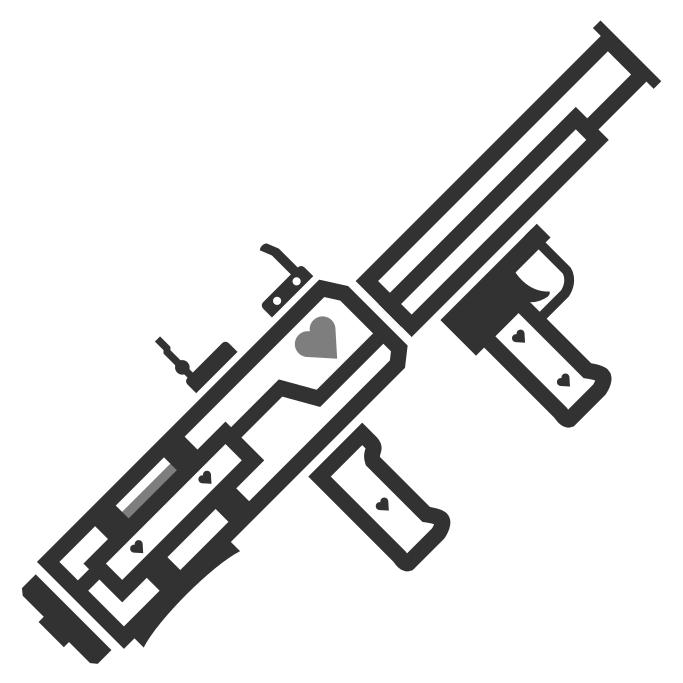  |
Cannon | Heart Ammo | 4 | 95 | ||||||
| Rainbow Blaster | Single |   |
Blaster | 1 | 1000 | |||||||
| M9 Cursed | Semi-automatic |   |
Pistols | 9mm Cursed | 15 | 12 | 8.3 | 100 | 1.6 | Given by the Dev Troll Special Perk. Unlimited ammo. Cannot be dropped. | ||
| Bugle | Single |   |
Pistols | Bugle Ammo | 1 | 0 | 0 | 0 | Given to the Bugler. | Kill the Bugler while there's no enemy besides, so no enemy can get buffs and ambush. |
Extra Weapon Information
Obstacle Damage Multiplier
- Guns
- Potato Cannon and Heart Cannon both do 1.3x damage to obstacles.
- DP-28, QBB-97, Mosin-Nagant, SV-98, and AWM-S all do 1.5x damage to obstacles.
- M249 and BAR M1918 do 1.75x damage to obstacles.
- PKP Pecheneg and PKM do 2x damage to obstacles.
- M134 does 5x damage to obstacles.
- Rainbow Blaster does 1000x damage to obstacles.
- Melee
Headshot Damage Multiplier
- All Melee Weapons, the AWM-S, the Potato Cannon, and the Heart Cannon have a Headshot Multiplier of 1x.
- These Weapons have no chance of Headshots occurring.
- All Shotguns and Sniper Rifles, except the AWM-S, have a Headshot Damage Multiplier of 1.5x.
- All other guns have a Headshot Multiplier of 2x.
- There is a 15% chance that a Headshot will be hit.
Information
Trivia
- Fists, the M9 Cursed, the Bugle, and the Rainbow Blaster are the only weapons not dropped upon death, not counting certain melee loadout skins.
- Almost all Pistols can be dual-wielded. The M9 Cursed still can't be dual-wielded, but this can change at any moment. For a long time, the Flare Gun was an exception, but since the "Rotato potato" update they can be dual-wielded too. The P30L was also an exception, but as of the v0.7.9 "Scouting ahead" update, they were dual wieldable.
- When a weapon is dropped from a crate as loot, two drops of 1.5× the weapon's magazine length are also dropped along with it (3x). This applies to all weapons with a magazine length between 11 and 40. The only exceptions are the SCAR-H and BAR M1918 drop two 40x 7.62mm ammunitions(4x).
- These are the ammo drop rates for weapons with capacities of over 40 or under 11.
- LMG ammo drops are two ammo pickups equal to their capacity except for the PKP Pecheneg; DP-28 will drop two 60x 7.62mm, QBB-97 will drop two 75x 5.56mm, and M249 two 100x 5.56mm (2x), while the PKP Pecheneg will drop 2 100x 7.62mm ammo (1x).
- The AN-94, which is using a 45-round magazine from the RPK LMG, also spawns with two pickups equal to its capacity.
- The OT-38 and Mosin-Nagant always come with two 10x 7.62mm ammunitions (4x).
- The MP220 and the M870 always drop with two 5x 12 gauge pickups (5x and 2x).
- The SPAS-12 always drops with two 9x 12 gauge pickups (2x)
- Two 10x 12 gauge pickups drop with the Saiga-12 (4x).
- The DEagle 50 drops two 28x .50 AE ammunitions (8x).
- The AWM-S always drops two 10x .308 Subsonic ammunitions (4x)
- The Super 90 drops two 8x 12 gauge ammunitions (2x)
- The Scout Elite always comes with two 10x 5.56mm ammunitions (4x).
- LMG ammo drops are two ammo pickups equal to their capacity except for the PKP Pecheneg; DP-28 will drop two 60x 7.62mm, QBB-97 will drop two 75x 5.56mm, and M249 two 100x 5.56mm (2x), while the PKP Pecheneg will drop 2 100x 7.62mm ammo (1x).
- All (single) Pistols, except the M93R and Peacemaker, have an odd-number ammo capacity size, when not paired with the Firepower perk.
- In the game, firearm ammunition capacities are known as "clip sizes", regardless of whether or not they use actual clips for loading.
- The only weapons in the game that actually do use clips for loading are the Mosin-Nagant, the M1 Garand, the OTs-38, and we can also assume that the OT-38, although fictional, does use clips.
- All 9mm pistols and the M1911, when dual-wielded, appear in your hotbar with the second weapon facing left, crossing the first. All other pistols, when dual-wielded, appear in your hot bar with the second weapon facing right, parallel with the first.
- When inside a Bunker all weapons will produce an echo when shooting or reloading which can also be heard from the outside, sometimes giving away locations.
- The Bulge is the only weapon that can give people speed buffs.